Roofing Information
Inside Greenlee's Final Roof Inspection
See what Greenlee checks before roof installation sign-off, from flashing and fasteners to cleanup and a dated homeowner report.
Published
3 min read
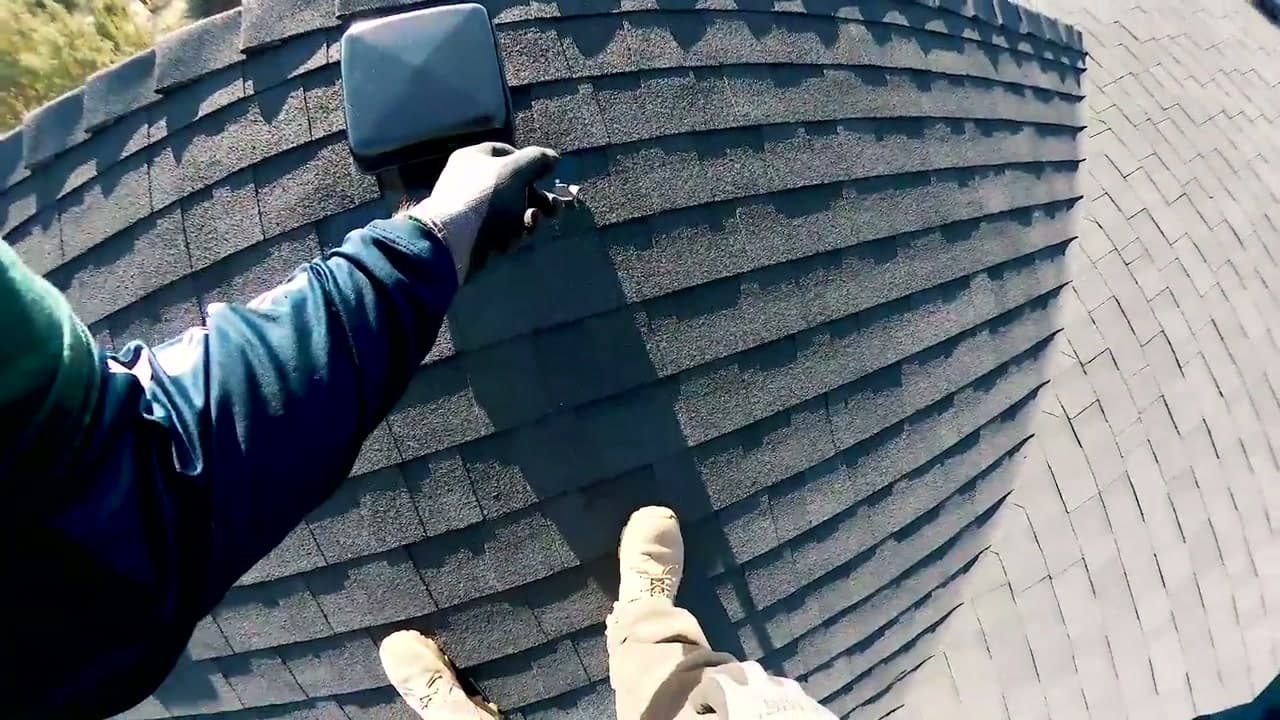
Every roof Greenlee installs gets a final inspection, whether it's a replacement or new construction. Our production leadership checks the finished work, looks over the cleanup, and completes a dated inspection report for the homeowner.
The visit is a close look at how the roof comes together: shingles, fastening, flashing, vents, and edges. A walkthrough we recorded shows what those checks look like and why small details deserve another look before sign-off.
Small details the final check catches
The roof in the video had been installed the day before. Its shingle rows lined up neatly, and the overall work looked clean. During the inspection, we still found four exposed fasteners that needed sealing.
Our inspector pointed them out and said they would be sealed before leaving. The final check had identified a specific finishing item to address before wrapping up the job.
That's the value of a separate inspection. A roof has many individual details, and the person checking the finished work can focus on how those details were completed.
Shingles, fastening, and ridge caps
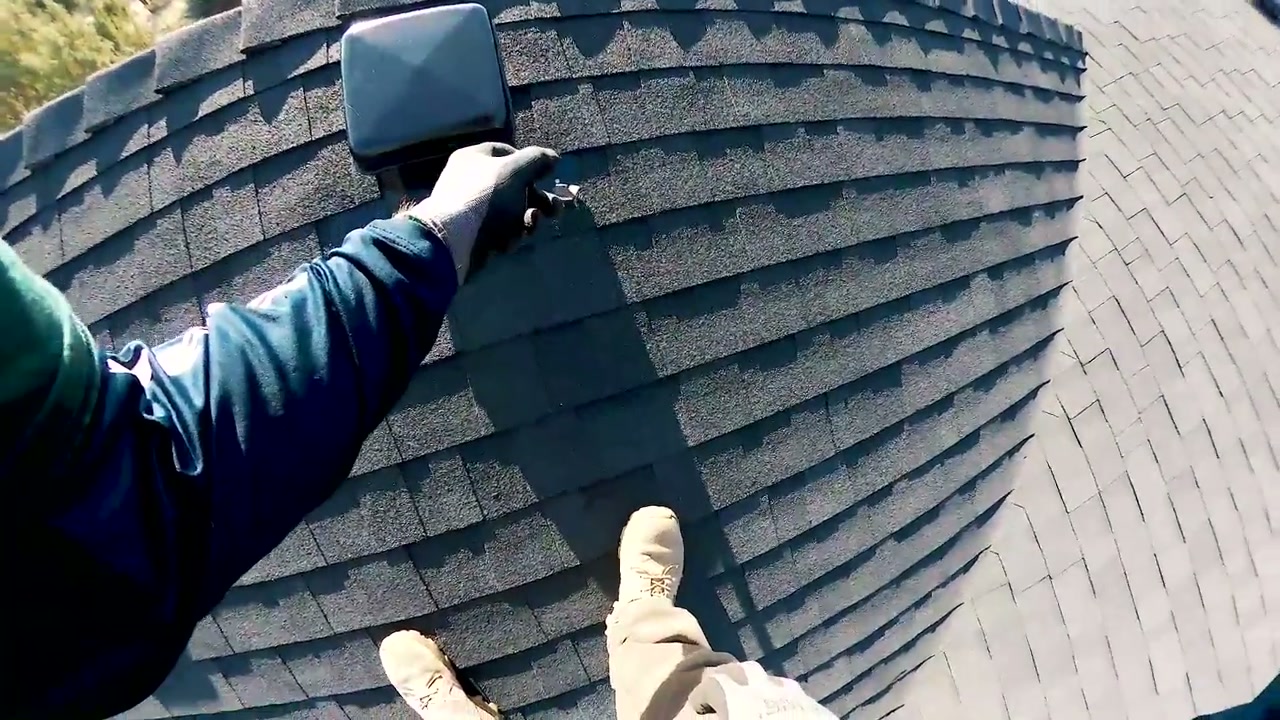
We check the shingle rows and the caps that cover the roof's ridges. We look at alignment, fastening, and how the shingles are sealing.
In the walkthrough, the inspector checks selected locations beneath shingle edges to see where the nails landed. Fastening requirements depend on the product, so nail placement and the installation details need to match the manufacturer's instructions for that roof.
The same attention applies where roof sections meet. We look at how the rows line up around dormers and how the roofing handles transitions between slopes. Those connections are part of the finished installation, even when they are difficult to see from the driveway.
Flashing where the roof meets a wall
Flashing is the metal that helps direct water through roof connections, including the places where shingles meet siding.
Step flashing works with the shingle rows along a sloping wall. At the lower end of that connection, kickout flashing turns water away from the siding. Both details receive attention in the recorded inspection.
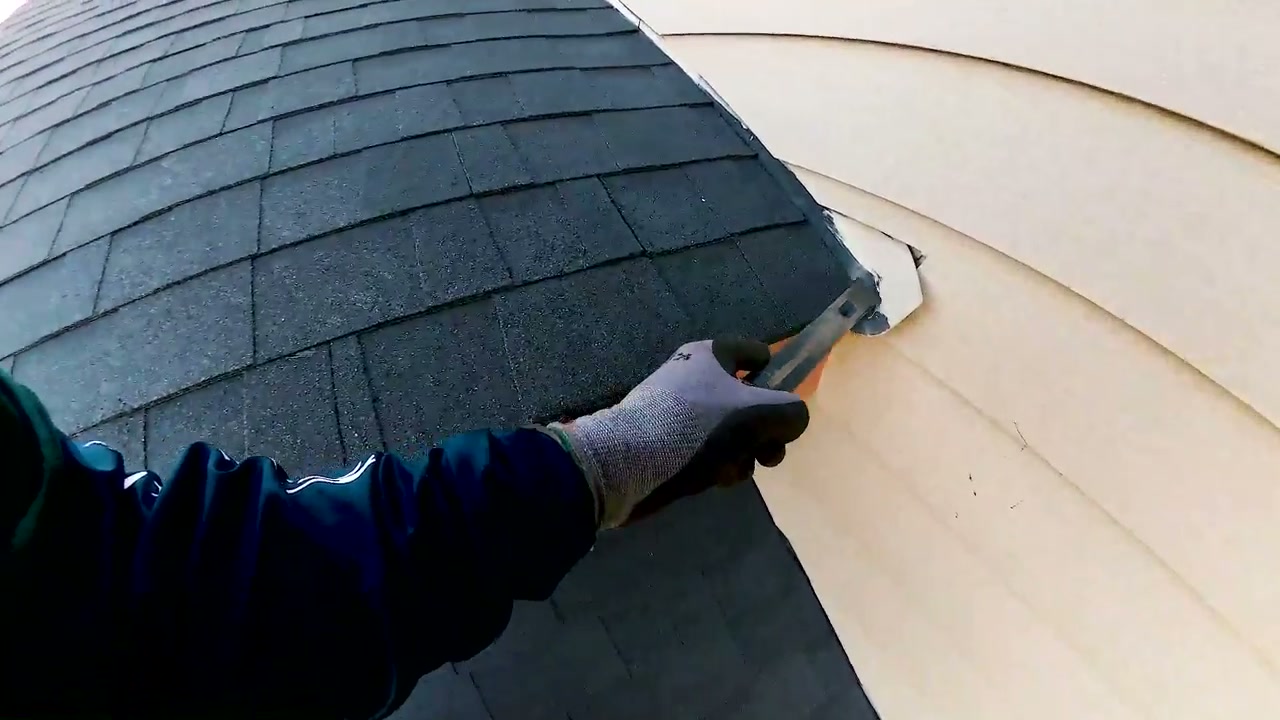
This is a useful detail for a homeowner to understand. Water running down that connection needs a clear path away from the wall. Checking the flashing helps us evaluate that path along with the shingles around it.
Vents and visible roof-edge details
We look at the vents and their surrounding installation, along with exposed fasteners that need sealing.
At the eaves, we inspect the visible connection between the protective membrane beneath the shingles and the metal drip edge. The drip edge helps direct water away from the roof edge. Much of the membrane is covered once the roof is finished, so the final inspection checks what remains visible at the edge.
The checklist follows the house. A roof with a skylight or chimney has details to review that won't be present on every project.
Another pass around the property
The crew's cleanup includes magnetic nail pickup and a walkthrough. The final inspection adds another look around the house for roofing debris and the overall appearance of the work.
In the video, the inspector walks the property after checking the roof. That second pass gives us another opportunity to spot something left behind.
A written record for the homeowner
At the end of the inspection, we complete a dated report recording who checked the roof and the items reviewed. Keep it with your contract and other roofing paperwork so you have a record of the visit.
If you've noticed something during the job, tell your production contact. It's worth bringing up while the work is being checked and any remaining items are being addressed.
For the full sequence, from preparing the property through completion, read what to expect during a Greenlee roof installation. If you're planning a project of your own, request a free roof inspection to find out what work your roof needs.
Related guides
- How to Compare Roof Replacement Estimates in Bend
Why we don’t post a price list, what actually moves the number, and how to compare two bids that don’t look alike.
- How Long Does a Roof Last in Central Oregon?
About 18 to 20 years for shingles, in our experience. Here’s what shortens that, what extends it, and the signs that tell you it’s time.
- What Happens During a Roof Replacement?
Day by day, from the email you get after signing to the final inspection. Who calls you, when, and what to expect. It’s going to be loud.